
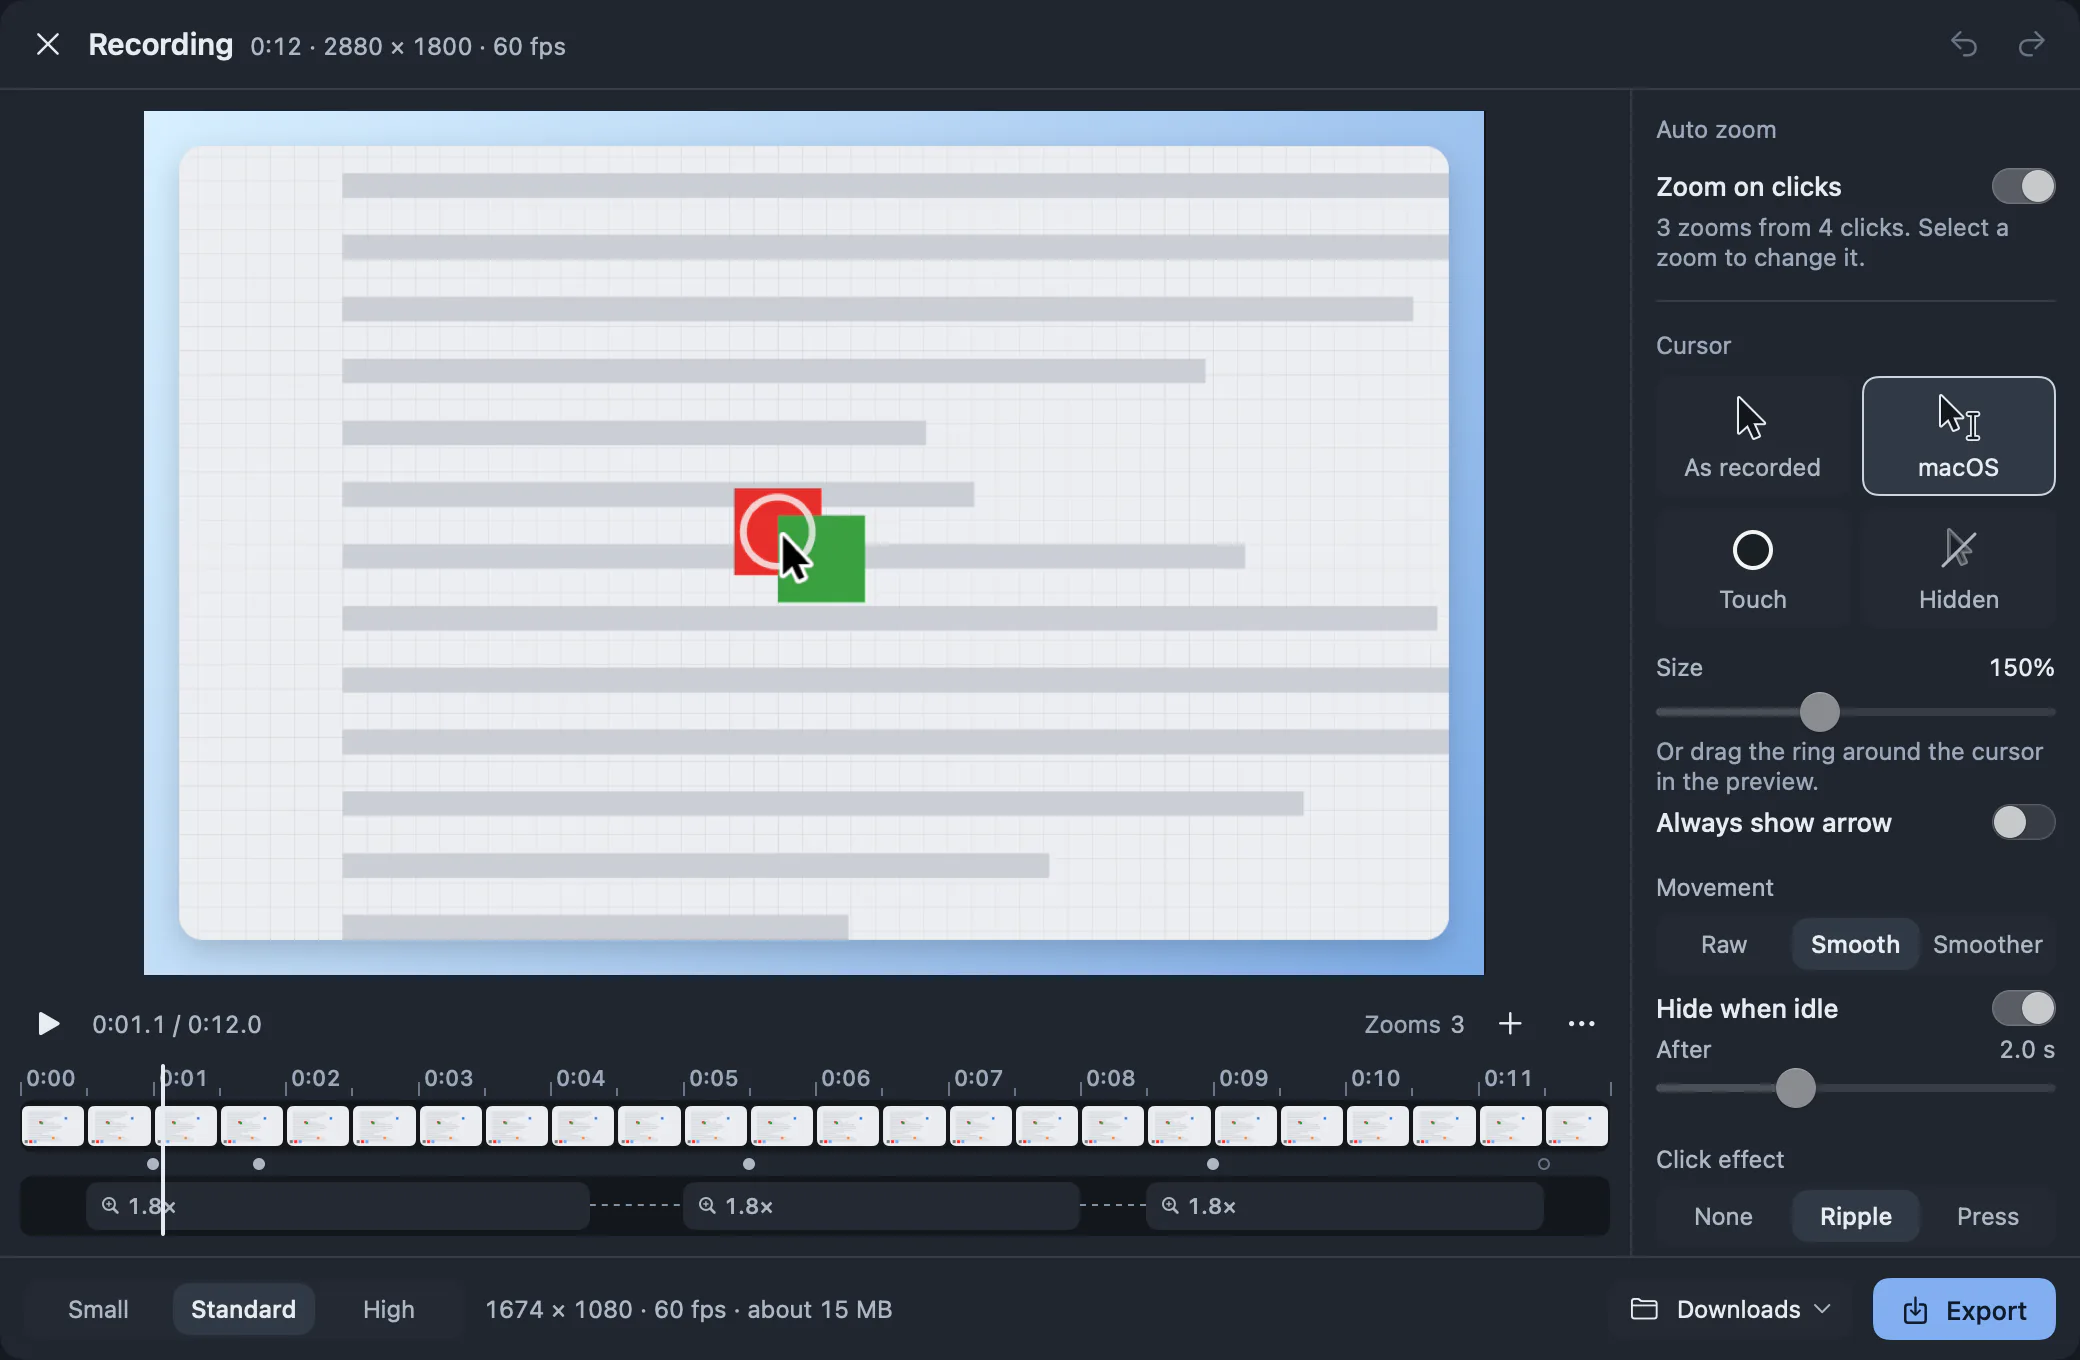
Auto zoom makes recordings people can actually read.
New in v1.3: Auto zoom follows your clicks and zooms in on the action, so viewers can read text and see details without squinting at a tiny full-screen recording. It's on by default for window, display and area recordings. The zoom is smooth and automatic — you don't need to do anything. When you click, the recording zooms to that area. When you move to another part of the screen, it follows. This makes tutorials, demos and bug reports instantly more readable. Auto zoom is included with Premium and unlocked in the 7-day free trial.
Choose a cursor style and a click effect.
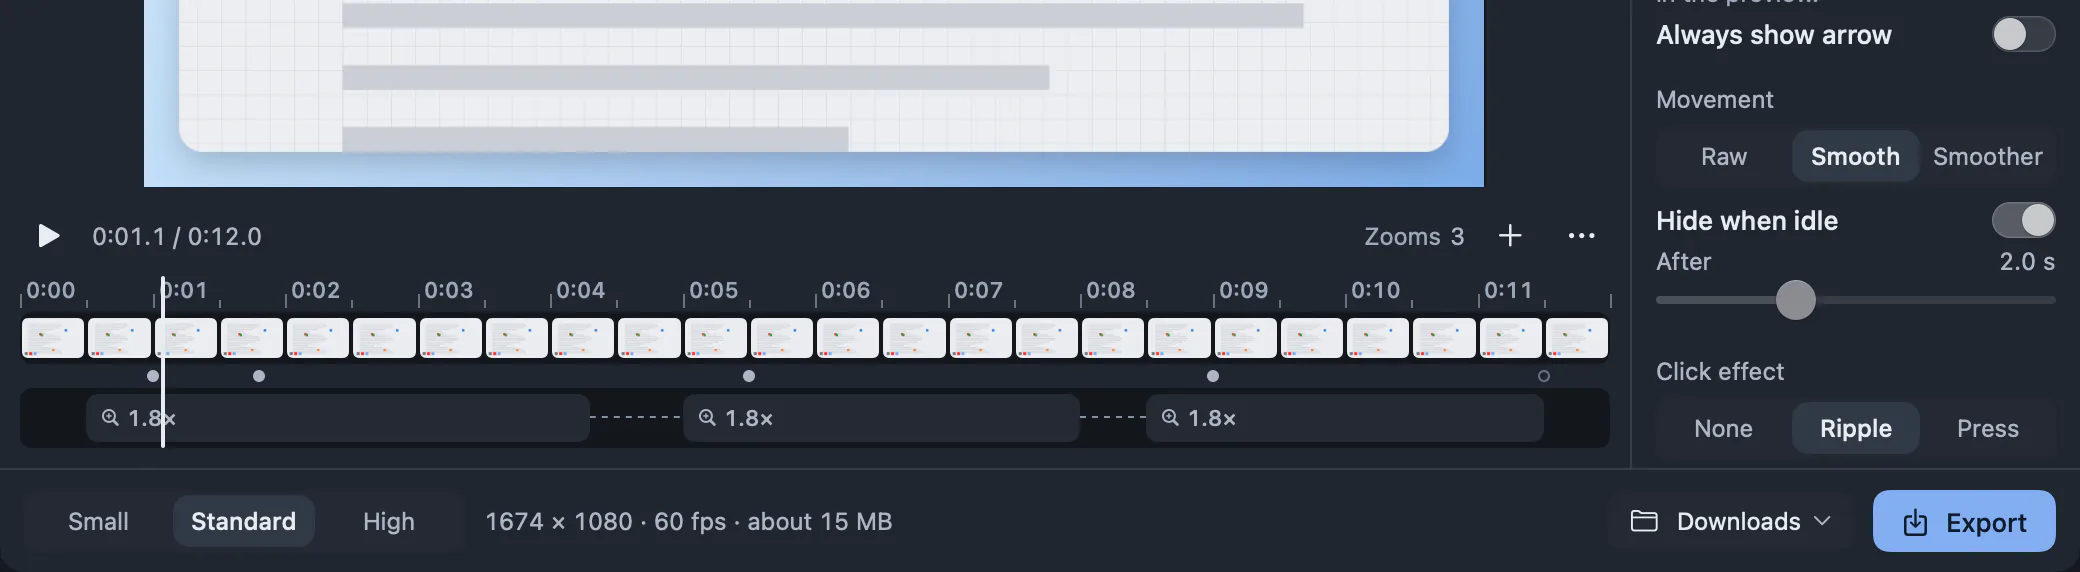
The recording editor’s inspector includes cursor styles — As recorded, macOS, Touch, and Hidden — along with size, movement smoothness, and a click effect: None, Ripple, or Press. The screenshot shows the macOS cursor at 150% size, Smooth movement, and the Ripple click effect, on a short sample recording.
Display, window, or area — your choice.
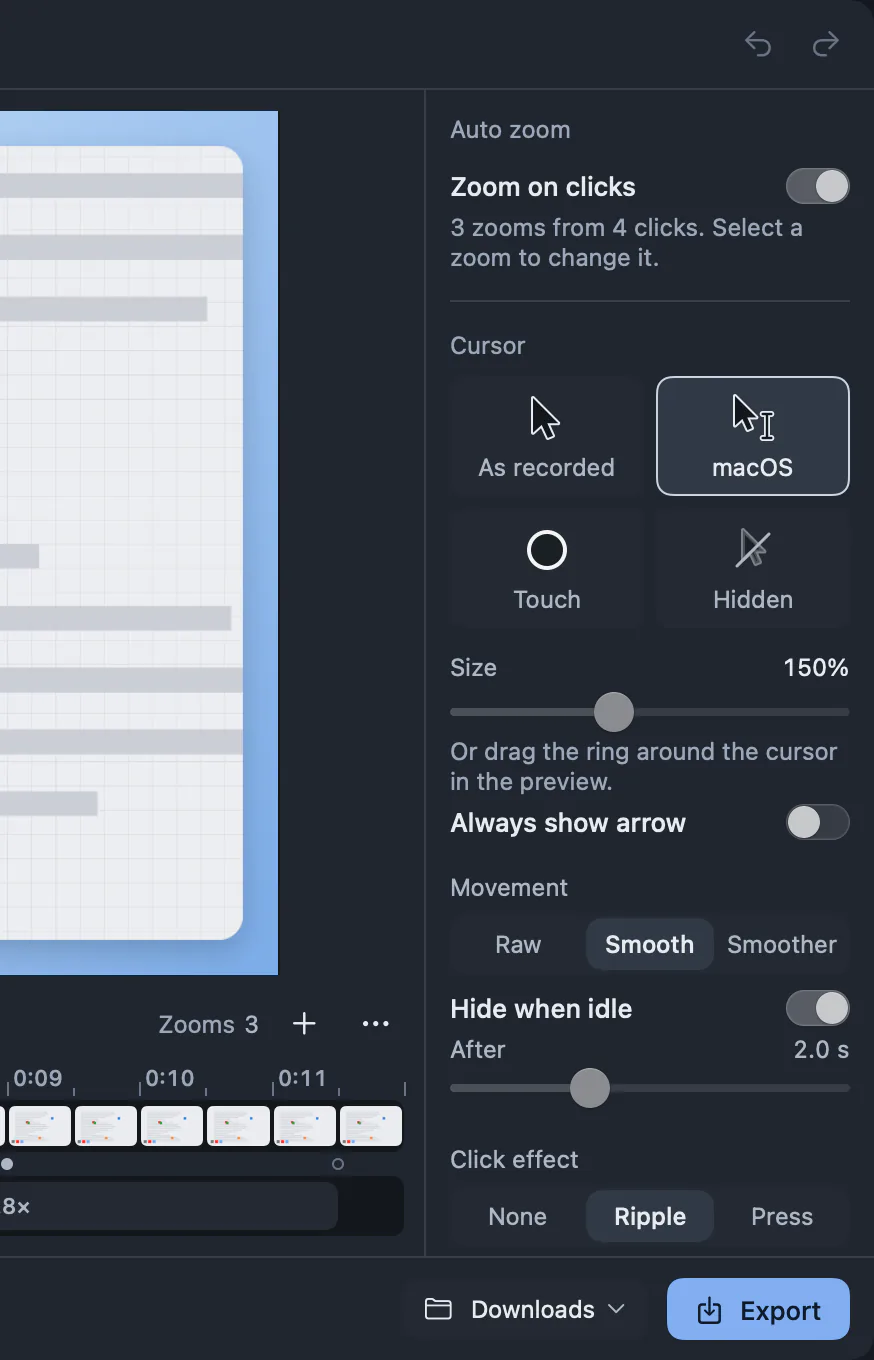
Select Display to record an entire screen (useful for multi-monitor setups), Window to record just one app window, or Area to record a custom region. Area selection works like the screenshot tool: drag to define the bounds. Each mode records what you see, minus DockMagic's own UI. Auto zoom works with all three recording modes.
System audio and microphone, no BlackHole required.
Enable system audio to capture sound from your Mac (app audio, browser media, system alerts). Enable microphone to narrate or provide commentary. Both are optional and can be toggled independently. You don't need to install virtual audio drivers like BlackHole; DockMagic uses macOS's native audio capture APIs.
Quality settings: resolution, frame rate, codec.
Choose 720p, 1080p, 1440p (2K), or Native resolution (up to 3840px on Retina displays). Select 30fps for smaller files or 60fps for smoother motion. Pick H.264 for compatibility or HEVC (H.265) for better compression. Default for new recordings: Native resolution, HEVC, 30fps. You can also show or hide the cursor in the recording.
Global hotkey: start recording from anywhere.
Press ⌥⇧⌘R (Option-Shift-Command-R) to begin recording, even when another app is active. The hotkey can be customized in DockMagic settings. It works without Accessibility permission because it uses a system-level shortcut API. The recording timer appears in the widget while recording is in progress.
Recordings don't include DockMagic UI.
Your recordings are clean: they don't show the Dock, the recording widget, or any DockMagic popups. If you set the Dock to auto-hide on the side, it stays hidden during recording. The widget continues timing in the background, and you stop recording by clicking the widget or pressing the hotkey again.
Saves to Downloads; no cloud upload.
Completed recordings are saved to your Downloads folder as .mov files, named with a timestamp. Click Show in Finder to locate the file. Nothing is uploaded; recordings stay on your Mac unless you share them manually.
Questions
Can I turn off auto zoom?
Yes. Auto zoom is on by default because it makes recordings more readable, but you can disable it in the recording settings if you prefer a static frame. The setting is per-recording, so you can use auto zoom for demos and turn it off for screencasts where you want the full interface visible.
Does auto zoom work in area recording mode?
Yes. Auto zoom works with display, window and area recording modes. When you record a selected area, auto zoom follows your clicks within that region and zooms in on the active part of the area.
Do I need Screen Recording permission?
Yes. macOS asks for Screen Recording permission the first time you try to record. If you record with the microphone enabled, you'll also be asked for Microphone permission. These permissions can be managed in System Settings → Privacy & Security.
Can I record internal audio without extra software?
Yes. DockMagic captures system audio natively on macOS 14 and later. You don't need BlackHole, Loopback, or other virtual audio devices.
Does this record just one window, without the desktop behind it?
Yes. When you select Window mode, only that window's content is recorded. The desktop, other windows, and DockMagic itself are excluded. If the window moves or resizes during recording, the recording follows it.
What's the file size like?
File size depends on resolution, frame rate, codec, duration, and content complexity. A 5-minute 1080p30 HEVC recording might be 50–150 MB. Native resolution at 60fps with H.264 will be much larger. Test your settings with a short recording first.